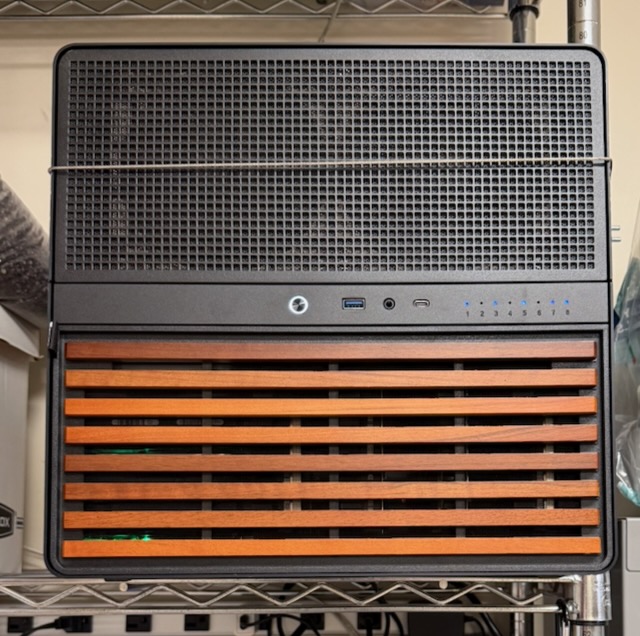
The computer sits on a shelf in the garage, with a cable around it for earthquake safety.
I like having network-based storage, so I can have a place to store backups, large files that I’m not using, copies of media that I’ve purchased, audiobooks, etc.
For the last 10 years, I’ve accomplished this with a four-bay Synology, which I eventually replaced with a second four-bay Synology, keeping the old one as a backup.
You can run various programs on the Synology because it is basically a low-powered server. The UI was helpful for me as a beginner.
In the long run, however, I wanted more customization than I could get from Synology, which eventually led me to buy a mini PC to run everything except the basic file server and backup functions.
Finally, I decided that I wanted even more customizability, I wanted a way to put all of my drives in one machine, and I was itching for a fun side project. I briefly looked into other network storage options and decided that, since I had never built a computer from scratch before, it would be fun to try a custom build.
I don’t remember exactly how it all came together. There are a lot of options, a lot of decision to be made, and I didn’t really know what I was doing.
I wanted room for a lot of disks and the ability to hot-swap, which led me to the Jonsbo N5 case, which holds 12 disks. It was great for a first build because it is quite spacious.
I wanted a way to access it without a keyboard or monitor, so my main requirement for the motherboard was something server-grade with IPMI. The motherboard I bought has a separate ethernet port that presents a web interface to configure the firmware settings as well as to connect remotely to a virtual monitor.
I wanted a CPU with integrated graphics, and I went with a mid-line Intel chip (“Core Ultra 5”).
I also needed a host bus adapter to be able to connect so many hard drives to the motherboard. This goes in a PCIe slot.
Finally, I wanted ECC RAM (very expensive thanks to AI), and some SSDs to run the operating system. Plus a power supply, a bunch of cables, and some fans.
The build was like an expensive Lego project except I might have bought the wrong pieces. It really was fun to see all of the different pieces come together.
I had a hard time getting the CPU cooler attached and I was worried I had done it wrong.
I had some annoying fan issues because I had some giant 14-inch fans for the front of the case that max out at 800 RPM. If they went below 300 RPM, the motherboard would think they had failed and start pulsing all of the fans, or else blowing them all full blast. I eventually solved this by connecting them to a fan hub so that the motherboard wouldn’t know how fast they were going. I’m sure there are better ways.
Those issues notwithstanding, I did manage to boot it up on the first try. Unfortunately, I had a couple of suspicious crashes in the first few days, mostly when I was transferring large files to the new computer. I realized that before I started trying to install anything, I should have done some diagnostic checks.
When I ran MemTest86 to check whether there were RAM issues, it froze four seconds into the first test. It failed so hard that I figured I must have done something wrong with seating the CPU, or that the motherboard was faulty.
I tried reseating the CPU to see if I’d screwed it up, but eventually resigned myself to buying more RAM. This was a painful choice because RAM was 1/3 the cost of the full build. But it was the right choice; the new RAM passed MemTest86, and I got a refund for the first batch of RAM.
So with that, I had a working computer. It was a really fun way to spend some of my free time. I wouldn’t say it was easy or frustration-free, but I learned a lot. It was also a good complement to my day job, where I wrangle computers like they’re herds of cattle without ever seeing or touching a single one.
The computer sits on a shelf in the garage, with a cable around it for earthquake safety.